About this episode
You can listen and download our episodes for free on more than 10 different platforms:
https://linktr.ee/dentistry_made_simple
Produced by:
https://www.podcaistudio.com/
Get every episode summarized
Each time Dentistry Made Simple publishes, we email you a written briefing from the transcript — the topics, who appeared, and any specific claims, with the ad reads skipped.
Email me new episodesFree for 3 shows. No card needed.
Hosts & guests
Transcript ready
914 searchable segments. Every word is indexed and playable.
Full transcript
Dentistry Made Simple — Preclinical Manual of Prosthodontics. Machine-transcribed; use the interactive transcript above to jump the player to any line.
Skincare experts and dermatologists have often touted the benefits of indoor humidity as essential for healthy glowing skin. But did you know dry air can start to harm your skin in as little as 30 minutes? For years, many people have relied on humidifiers for better skin, sleep, and overall wellness. But traditional models, bulky, mold prone, and difficult to maintain. That's where canopy humidifier comes in. Recommended by leading dermatologists, canopy is a completely reimagined humidifier designed to elevate any space, offering the ultimate in skincare and wellness benefits. Cannabis clean moisture, come that's dryness, dullness, and fine lines, while strengthening the skin's barrier and boosting the effectiveness of topical skincare products. With its sleek design, canopy is the cleanest and easiest humidifier on the market. With its unique technology, cleaning is as easy as popping it in the dishwasher. Go to getcanopy.co to save $25 on your canopy humidifier purchase today with Cannabis filter subscription. Even better, use code podcast to check out to save an additional 10% off your canopy purchase. Your skin will thank you.
Finding great candidates to hire can be like, well, trying to find a needle in a haystack. Sure, you can post your job to some job board, but then all you can do is hope the right person comes along, which is why you should try Zippercrooter for free. At zippercrooter.com slash zip. Zippercrooter doesn't depend on candidates finding you. It finds them for you. It's powerful technology identifies people with the right experience and actively invites them to apply to your job. You get qualified candidates fast. So while other companies might deliver a lot of, hey, Zippercrooter finds you what you're looking for. The needle in the haystack. See why four out of five employers who post a job on Zippercrooter get a quality candidate within the first day. Zippercrooter, the smartest way to hire. And right now, you can try Zippercrooter for free. That's right, free at zippercrooter.com slash zip. That zippercrooter.com slash zip. Zippercrooter.com slash zip. Warning, the following Zippercrooter radio spot
you are about to hear is going to be filled with F words. When you're hiring, we at Zippercrooter know you can feel frustrated for Lauren even. Like your efforts are futile and you can spend a fortune trying to find fabulous people only to get flooded with candidates who are just fine. F**k. Fortunately, Zippercrooter figured out how to fix all that. And right now, you can try Zippercrooter for free. At zippercrooter.com slash zip. With Zippercrooter, you can forget your frustrations because we find the right people for your roles fast, which is our absolute favorite F word. In fact, four out of five employers who post on Zippercrooter get a quality candidate within the first day. FANTASTIC. So whether you need to hire four, 40, or 400 people, get ready to meet first rate talent. Just go to zippercrooter.com slash zip to try Zippercrooter for free. Don't forget that zippercrooter.com slash zip. Finally, that zippercrooter.com slash zip. Welcome back to the deep dive. Today, we are actually stepping away
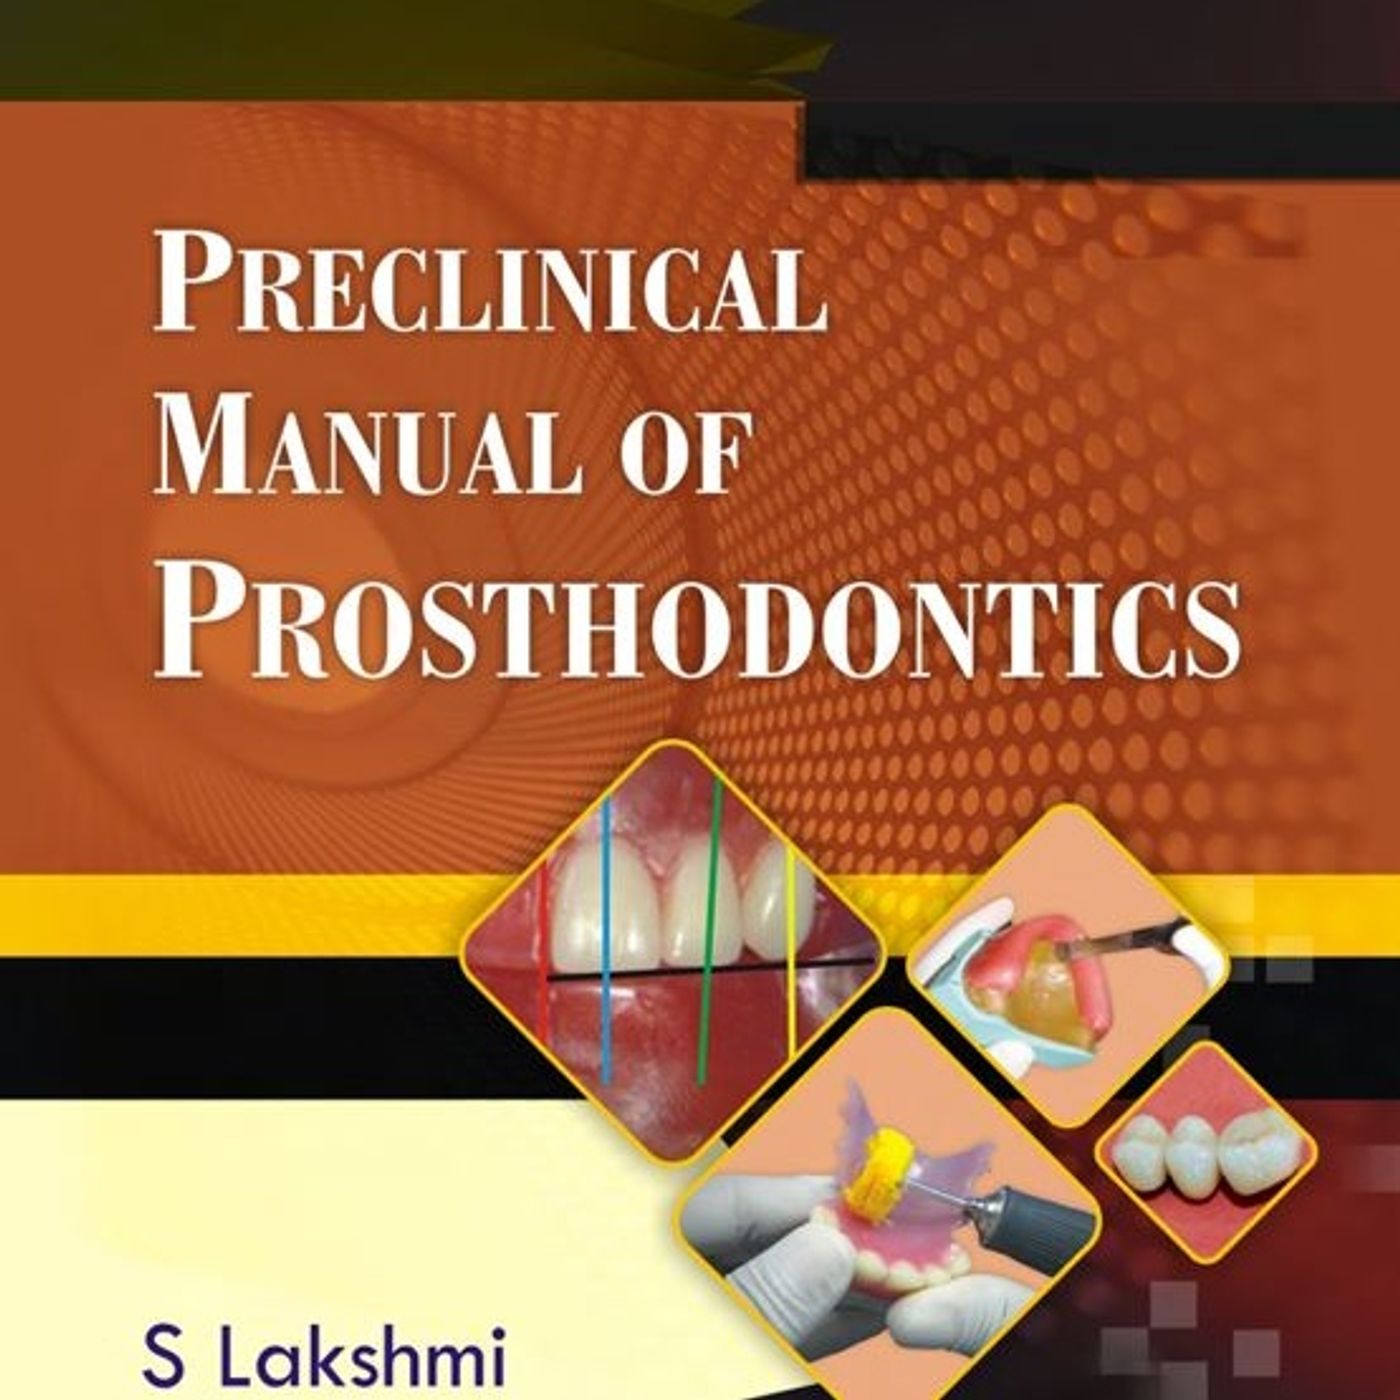
from the patient chair for a bit. Yeah, we are heading straight into the engine room of dentistry. Exactly, the lab, because before a dentist ever touches a patient's actual tooth to rebuild a smile, there is just a massive amount of engineering that happens first. Right, in this whole other world of plaster, wax, and wire. It really is. And it's kind of the invisible half of the profession, isn't it? Oh, absolutely. I mean, you can memorize the anatomy of a molar from a textbook all day long. But until you can actually carve that anatomy out of wax or cast it in metal. You aren't actually a dentist yet? No, you're just a biologist with a drill. That is a great way to put it, just a biologist with a drill. Yeah. So to navigate this transition, this leap from biologists to engineer, we are unpacking the preclinical manual of prosthodontics. Right, by S. Lakshmi, published by Elsevier. Which is really widely considered the Bible for preclinical students. It is that crucial bridge between your theoretical first-year curriculum and the high stakes reality
of third-year clinical practice. It is, because Lakshmi, along with contributors like Dr. Sunhill Luthin, they aren't just giving us a recipe book here. This manual is definitely about the how, but more importantly, it's about the why, the why behind the materials and the fabrication. So our mission for this deep dive is to give you the listener a really complete, highly detailed summary of this manual. We are not skipping the hard parts. No, we're getting to all of it. We're gonna break down the chemistry of the materials, the physics of jaw movement, and those precise step-by-step fabrication processes that you absolutely need to master. The steps that literally turn a bag of white powder into a functional human body part. It's wild when you frame it like that. So let's start with the basics. Part one, the scope of the field itself, prostitutics. It sounds impressive, but how does the manual strictly define it? Well, the definition is actually critical because it outlines your legal and ethical responsibility as a practitioner. The text defines prostitutics as the branch pertaining
to the diagnosis, treatment planning, rehabilitation, and maintenance of oral function, plus comfort, appearance, and health. That's a broad mandate. It is, but the operative phrase at the very end of the definition is the key. It says, using biocompatible substitutes. Biocompatible substitutes. Meaning, we aren't regenerating teeth like a shark. We have to engineer replacements that the human body won't actively reject. Decisely. And the manual splits this entire discipline into four distinct branches. First up, you have fixed prostitutics. Which is fairly intuitive, right? Replacements that the patient cannot remove themselves. Exactly. Talking about your crowns and bridges, these are permanently cemented or screwed onto natural teeth or roots. It's about restoring a tooth that is already there but damaged or bridging a specific gap. And then we have removable prostitutics. Right. Which is honestly the primary focus of a lot of the preclinical work in this specific book. And that splits into two subcategories. Complete dentures.
Replacing the entire dentition in a single arch. Yes. And removable partial dentures or RPDs. That's where the patient still has some of their natural teeth left. Which seems like it would be harder. Oh, the engineering challenge is completely different because now you have to hook on to those remaining natural teeth without damaging them over time. Right, you don't want to pull out the good teeth with your new device. Yeah. So what are the other two branches? You have maxillofacial prostitutics which is highly, highly specialized. That's the one dealing with trauma, right? Yes, replacing stomatinaphic and craniofacial structures. So artificial ears, noses, orbital defects. Often this follows severe cancer surgery or major trauma. Wow. And finally, implant prostitutics. This deals with any prostheses that are supported or retained by dental implants, which are usually titanium screws placed directly into the bone. OK, before we leave the basic definitions, the author makes a very specific distinction that I know trips up a lot of first-year students in their Viva exams. The difference between prostitutics and a prosthesis.
Yes. It seems purely semantic, but the manual emphasizes it. It matters a lot. Prostitutics is the discipline. It's the science, the study, the art form. A prosthesis is the physical object itself. The actual artificial replacement of the absent body part. Right. You study prostitutics so that you can create a prosthesis. One is the internalized knowledge. And the other is the tangible product you hand to the patient. Clear enough. Let's move to part two. The toolkit. Chapter two goes deep into instruments and materials. And I think most people outside the field assume dental plaster is just some generic white powder you buy at a hardware store. A lot of first-year students think that too, unfortunately. But the chemistry here is surprisingly complex. And honestly, if you get the chemistry role on day one, your prosthesis is going to fail before you even start building it. So the manual focuses really heavily on gypsum products. Yes. Gypsum is what we use to make our casts. The physical replicas of the patient's mouth. But you really have to know the fundamental difference
between dental plaster and dental stone. But from a strictly chemical standpoint, aren't they both just calcium sulfate hemahydrate? They are. Chemically, they're completely identical. The difference is entirely in the manufacturing process, which fundamentally changes the physical shape of the powder particle. OK, break that down for us. Starting with dental plaster. Dental plaster is classified as a type two gypsum. It consists of beta hemahydrate particles. These are manufactured by heating rod gypsum in an open vessel. And what is heating it in an open vessel actually due to the particle itself? It makes the particles highly irregular, spongy, and very porous. And because they are so porous, they act like stosty little sponges. They soak up a massive amount of water when you mix them. And I'm guessing all that excess water affects the final strength. Drastically, more water means the final set material is much less dense. It's weaker. So you would never use plaster to make a master mold. What do you use it for then? You use plaster for diagnostic casts.
Models you just want to look at to study the teeth or for mounting a more solid model to an articulator machine. So contrast that thirsty spongy plaster with dental stone. Dental stone is type three gypsum. It's made of alpha hemahydrate. Instead of an open vessel, it is cast signed under steam pressure in a closed container. And that pressure changes the structure. Exactly. It creates particles that are regular, prismatic, and totally non-porous. They do not soak up excess water. They pack together incredibly tightly. So mechanically speaking, you need way less water to mix it into a workable paste. Much less. And the end result is a much harder, much stronger cast. This is what you use for your master casts. The final definitive model that you will actually build a denture on. This directly leads into the mixing ratios, which the manual is so specific about. I feel like this is where students immediately get into trouble in the preclinical lab. Oh, it is exactly where they fell. For dental plaster, the type two, the water to powder ratio is 0.45 to 0.50.
So that's roughly 45 to 50 milliliters of water for every 100 grams of powder. Right. But for dental stone, the type three, because those particles aren't porous and thirsty, the ratio drops all the way down to 0.28 to 0.30. That is a massive difference. You're using almost half the amount of water. You have to. If you treat stone like plaster, and you just eyeball it and add too much water, you completely ruin the crystal structure. You end up with soup. Or a weak, chalky model that just abrades and crumbles the second you try to carve wax on it. And conversely, if you don't use enough water with your plaster, it just won't flow into the impression details. Speaking of mixing, the manual also highlights the specific tools. We use a rubber bowl, but it specifies a stiff rubber bowl, right? Yes. A stiff bowl allows for proper vigorous spatulation. You need to be able to actively press the gypsum mixture against the sides of the bowl to push out any trapped air bubbles. If the bowl is too floppy, you just can't get that leverage. Exactly. And the spatula matters just as much.
For gypsum, you have to use a straight mixing spatula with the stiff blade and around it end. But the manual notes a strict exception for other materials. Right. If you are mixing alastomeric impression materials or zinc oxide eugenal paste, you switch to a totally different setup, a flexible mixing pad, and a spatula with a long, broad stiff blade. To avoid cross-contamination? Yes. Because microscopic bits of set gypsum act as seed crystals. If they get into a new mix of a different material, they can wildly accelerate the setting time and ruin your working window. There was one other simple tool mention that seemed highly specific, the glass plate. The humble glass lab. It has a couple of main uses. First, you mix certain dental amounts on it because glass stays cool and absorbs the exothermic heat of the reaction. And the second use. In the pre-clinical lab, it's often used as a template for setting teeth. When you are placing artificial teeth in wax, you actually press the biting surfaces down against the flat glass plate to make sure your occlusal plane is perfectly level.
It's a very simple analog way to check your geometry. Very effective, though. OK. Let's move to part three, the core concepts. We have our materials. Now we really need to understand what we are modeling. Let's talk about impressions. Warning. The following Zipper Cruder radio spot, you are about to hear, is going to be filled with F words. When you are hiring, we at Zipper Cruder know you can feel frustrated for Lauren even. Like your efforts are futile. And you can spend a fortune trying to find fabulous people, only to get flooded with candidates who are just fine. F***. Fortunately, Zipper Cruder figured out how to fix all that. And right now, you can try Zipper Cruder for free at zippercruder.com slash zip. With Zipper Cruder, you can forget your frustrations. Because we find the right people for your roles fast, which is our absolute favorite F word. In fact, four out of five employers who post on Zipper Cruder get a quality candidate within the first day. Fantastic. So whether you need to hire four, 40, or 400 people,
get ready to meet first rate talent. Just go to zippercruder.com slash zip to try Zipper Cruder for free. Don't forget that zippercruder.com slash zip. Finally, that zippercruder.com slash zip. Access to affordable credit helps me pay my employees. But I don't really need it. Infliction is killing me. Who cares? Big retailers and making record profits. That's why we support the Durban Marshall credit card bill. See, banks and credit unions help small businesses make payroll. This bill would cut the vital resources they need. While increasing Megastore profits, they deserve it. Don't they? Tell Congress, stop the Durban Marshall money grab for corporate megastores. Paid for it by the Electronic Payments Coalition. Warning, the following Zipper Cruder radio spot you are about to hear is going to be filled with F words. When you're hiring, we at Zipper Cruder know you can feel frustrated for Lauren even. Like your efforts are futile. And you can spend a fortune trying to find fabulous people only to get flooded with candidates who are just fine.
F**k. Fortunately, Zipper Cruder figured out how to fix all that. And right now, you can try Zipper Cruder for free. At zippercruder.com slash zip. With Zipper Cruder, you can forget your frustrations. Because we find the right people for your roles fast, which is our absolute favorite F word. In fact, four out of five employers who post on Zipper Cruder get a quality candidate within the first day. Fantastic. So whether you need to hire four, 40, or 400 people, get ready to meet first rate talent. Just go to zippercruder.com slash zip to try Zipper Cruder for free. Don't forget that zippercruder.com slash zip. Finally, that zippercruder.com slash zip. An impression is defined as a negative likeness of the tissues. But the manual emphasizes that we aren't just taking a photocopy of the gums. That's a rookie mistake. We are trying to achieve specific mechanical goals. The text lists five critical objectives for impression making. They call these the big five for Viva exam.
Let's run through them. Number one is the absolute most important. Preservation of alveolar ridges. Meaning keeping the bone intact. Yes. If your impression technique applies too much pressure or pressure in the wrong anatomical spots, the resulting denture will actually cause the patient's jawbone to resort or melt away over time. You have to preserve what's left. That makes total sense. What is number two? Retention. This is the resistance to vertical displacement. It's the physical force that stops the upper denture from just dropping down when the patient laughs or speaks. And that relies on basically surface tension. Atmospheric pressure and surface tension, yes. With two perfectly flat sheets of glass stuck together with a thin film of water. OK, number three is debility. Which students constantly confuse with retention. Stability is the resistance to horizontal or lateral forces. When you chew food, the denture wants to slide side to side or front to back. Stability prevents that rocking motion. So retention stops it from falling down.
Stability stops it from sliding around. Got it. And the last two. Support, which is the resistance to the vertical forces of chewing, basically stopping the denture from digging painfully into the soft gum tissue when they bite hard. And finally, aesthetics. aesthetics from an impression. How does that work? The impression actually needs to capture the border with accurately so that the patient's look is supported naturally. If your impression is too thin at the edges, the patient's face looks collapsed. To achieve all five of these, the manual discusses three different theories of impression making. Right. First, you have the pressure technique, sometimes called muco-compressive. This records the tissues under heavy load, simulating what they look like when the patient is actively chewing. But the downside is, when the patient isn't chewing, which is most of the day, the denture is still constantly pushing hard on those tissues. That cuts off blood supply and causes that bone loss we talked about. So then you have the complete opposite approach. The non-pressure or muco-static technique. This records the tissues at total passive rest.
It's fantastic for long-term tissue health, but because it doesn't extend far into the borders, the retention is usually pretty poor. So the manual suggests a middle ground is the best approach. Yes, the selective pressure technique. This is widely considered the gold standard in prostitutics. You explain how that works. The underlying idea is brilliant. You identify the specific areas of the jawbone that are biologically designed to bear heavy loads. We call these the stress-bearing areas. You deliberately apply pressure there. While leaving the rest alone. Exactly. You simultaneously relieve pressure on the fragile areas that can't handle stress. To pull that off, you really need to know your oral anatomy flawlessly, specifically for the mexel of the upper jaw. What anatomical landmarks are we looking at? The manual categorizes the landmarks into limiting structures and supporting structures, for the upper jaw, the primary stress-bearing areas are the horizontal plates of the hard palate and the residual alveolar ridge. Where the teeth used to be. Right. Then you have the rugay, which are those little ridges
on the anterior roof of your mouth. Those are secondary stress-bearing areas. What about areas you have to avoid? The midline roof. That's the bony seam running right down the very middle of your palate. The tissue there is paper thin. That is a strict relief area. You absolutely do not want pressure there. And this specific anatomy dictates your equipment. Because you can't just use a generic store-bought tray to get a perfect selective pressure impression. Everyone's anatomy is slightly different. You really can't. A prefabricated stock tray is only good for getting a rough preliminary impression. To actually execute the selective pressure technique, you have to build a custom tray. A bespoke tool built specifically for that one single patient. Which brings us perfectly to part four. And I really want to treat this section as a deep step-by-step visualization exercise. Chapter three details, custom impression tray fabrication. It is a core skill. Let's mentally walk the listener right through this pre-clinical process. I love this part.
Let's do it. So imagine you are sitting at your lab bench. You have your preliminary cast of a patient's upper jaw sitting right in front of you. It's made of that type two dental plaster we discussed. Okay, step one is outlining. We need to draw a map on the plaster. Correct. You take a black pencil and a periodontal probe. You use the probe to measure the depth of the sulcus all the way around the cast. The sulcus being that deep valley where the gum tissue reflects upward to become the inside of the cheek. Exactly. You mark the absolute deepest point of that valley. But the manual states your actual tray borderline must be drawn precisely two millimeters short of that deep sulcus mark. Why two millimeters short? Why wouldn't you want the tray to go all the way to the bottom to capture everything? Because you need physical room for the final impression material, we use a border molding compound later on. That material needs space to roll over the edge of your custom tray and dynamically capture the muscle attachments while the patient moves their mouth. Oh, I see. If the hard plastic tray goes all the way down,
there's no room for the material and the plastic just cuts into the patient's muscles. Exactly. It would hurt the patient and severely distort the tissue reading. Okay, so we have our pencil line two millimeters short. Step two is applying the wax spacer. We literally adapt a sheet of base plate wax over the plaster cast. We do. This wax represents empty space. It creates the physical room inside the tray where your final impression paste will eventually sit. But, and this is the crucial detail from the text, the wax does not go all the way to your pencil line. No, it doesn't. The wax spacer outline is marked exactly four millimeters short of the sulcus depth. Let's do the math on that. So the tray border is two millimeters short of the bottom. But the wax spacer inside it is four millimeters short. That means there is a two millimeter gap at the very edge where there is no wax. So the acrylic tray will actually touch the plaster cast right at the border. You've got it perfectly. That intimate contact at the border creates a complex internal seal. It traps the impression material inside the tray
so it's forced against the tissues rather than just shooting out the sides. That is incredibly clever engineering. But wait, if there's all this empty space inside from the wax, you can't just let the tray float loose in the mouth. If the dentist pushes on it, all the impression paste would just squish out. Exactly. You'd bottom out the tray against the gums. So to prevent that, we cut what are called tissue stops. These act like little bumpers or legs. Yes. You take a scalpel and cut four small squares completely out of the wax spacer, exposing the bare plaster underneath. Usually you put two in the anterior canine region and two in the posterior molar region. So when you mold the wet acrylic over the wax, it fills in the square holes. Right. And when it hardens, your tray has four little plastic legs. When you put the tray in the patient's mouth, those legs hit the gums and physically stop the tray from seeding any deeper. It guarantees a perfectly uniform thickness for your impression material across the whole palette. Now, the manual explicitly mentions
a major exception for the lower jaw, the mandible. It does. It strictly states that for a mandibular tray, the wax spacer is not included in the buckle shelf area. And why is that? Because the buckle shelf, the bone just outside the lower molars is the primary stress bearing area for the lower jaw. Remember the selective pressure theory? We actively want the hard tray to intimately contact that specific area to apply pressure. So no wax spacer goes there. Step three is separation. We apply a separating medium, usually cold mold seal, which is essentially sodium alginate. You paint it on the plaster, so a critic resin doesn't permanently bond to your cast. The manual specifies the painting technique, too. Unidirectional strokes. Yes. If you just scrub your brush back and forth like your painting offense, you create a fuzzy, irregular surface on the cast. And the inside of your custom tray will be horribly rough. Moving to step four, resin fabrication. We are finally mixing chemicals. We use a self-cure acrylic resin. It comes as a polymer powder and a monomole liquid.
You mix them in a small porcelain jar, and you wait. You are carefully watching the chemical reaction progress. What are we looking for? It goes through distinct stages. Sandy, then sticky, and finally the dough stage. The manual says when it reaches the dough stage, when you can touch it, and it doesn't stick to your gloved finger, it is ready to manipulate. And once it's done. You take it out and roll it flat. The text suggests using a wooden template and a wet cellophane sheet to roll the dough into a perfectly uniform wafer using your glass slab. And then you mold it to the cast. Yes, using the finger adaptation method. You gently adapt the dough over the wax spacer. You really have to be gentle. You don't want to accidentally press too hard, and then the material out over the crest of the ridge. You also have to navigate the phantom attachments, those tight little bands of muscle under the lip. Yes, you have to provide phantom relief. You physically cut notches into the wet resin tray. So those muscles can move completely freely. And then it hardens. It polymerizes, which is a highly exothermic reaction,
meaning it gets quite hot. Once it's fully cooled and hard, you pry it off, boil away the wax spacer, trim the sharp edges with a tungsten carbide burr, and you have just built a perfectly customized engineering tool. It really is a custom manufactured medical device built for an end of one. It's fascinating. Let's ship gears to part five, advanced components. We're moving up from full dentures to removable partial dentures or OPDs. This is where the engineering actually gets even more structural. Because if a patient still has some healthy teeth left, we have to integrate with them. First, we use Kennedy's classification system to accurately map out the pattern of tooth loss. Right. And the manual lists all these components for RPDs that sound exactly like bridge architecture, major connectors, minor connectors. Because it is architecture, the major connector is the main load bearing beam of the whole prosthesis. It physically joins the components on one side of the dental arch to the components on the other side. Then it has to be incredibly rigid. Absolutely rigid.
If a major connector flexes or bends while the patient is chewing, the twisting torque it applies to the natural abutment teeth will be completely destructive. It has to distribute the biting stress evenly across the entire arch. Then you have components called rests. The rest is arguably the single most important component for preserving the patient's remaining teeth. It is a tiny, carefully engineered metal extension that sits in a prepared groove on top of a natural tooth. What is its primary function? Its job is to take the vertical forces of chewing and direct them straight down the long axis of the natural tooth's root. Without a rigid rest, every time the patient bit down, the partial denture would just sink deeper and deeper into the gums, basically stripping the soft tissue right off the teeth. Wow. OK, what about retainers? Direct retainers are what most people just call clasps. The manual details several, but you primarily need to know the circumferential clasp, also known as an acres clasp, which wraps completely around the tooth from the top down. Any other type?
The bar clasp or roach clasp. That one approaches the tooth from the bottom up, coming from the gum line. These clasps provide the friction to hold the denture in place against gravity and sticky foods. And then you have indirect retainers, which mechanically blew my mind. They are so clever, imagine a patient who only has front teeth left. The denture replaces all the back teeth. When they bite down hard on the back, the back part of the denture wants to sink into the gums, which makes the front part want to pop up and lift off the front teeth. It acts exactly like a seesaw, a lever. Exactly. So an indirect retainer is a metal rest placed way far forward, completely on the opposite side of the fulcrum line. It physically stops that rotational lifting motion. Mechanically speaking, it changes the entire system from a destructive clasps I lever into a manageable clasps to lever. Brilliant. Now before you wrap up, we need to clarify three massive terms of the glossary in chapter five. These are high yield concepts that every single student needs to have locked in. Let's do it.
First term, articulator. An articulator is a complex mechanical instrument. It essentially represents the patient's temperament debular joints, the TMJ and their jaw bones. So it's a simulator? Yes. We take our plaster casts and mount them onto this machine using specialized Facebook transfers. It allows us to accurately simulate the patient's complex jaw movements right on the lab bench. It lets us build and test the occlusion of the bite without the patient having to sit in the chair for hours. OK, second term, and this is a massive one, centric relation. This is probably the most misunderstood concept in dental school. Centric relation is strictly a bone-to-bone relationship. Not tooth to tooth. Exactly. It is the specific position of the mandible where the condols of the ball joints of the jaw are seated in their uppermost, anterior-most position within their sockets, resting completely naturally against the thinnest evascular portion of their articular discs. So the absolute key takeaway for the listener is? It is entirely independent of tooth contact. Even if a patient has lost every single tooth in their head,
they still possess a reproducible centric relation. It is our pure anatomical reference point. It's home-based for completely rebuilding a mouth from scratch. Final term, compensating curve. When we are in the lab setting artificial denture teeth into wax, we do not set them on a perfectly flat level plane. We deliberately introduce curves. Specifically, upward sweeps at the back of the mouth called the curve of speed and the curve of Wilson. Why do we do that? The manual refers to it as Christiansons phenomenon. Right. Think about your own mouth. When you slide your lower jaw forward to bite a piece of tape, your back teeth naturally separate. They come apart. If a denture did that, the whole back end would drop down and the denture would flip out of the mouth. So we curve the back teeth upwards to ensure that they stay in sliding contact during all jaw movements. That continuous contact keeps the upper and lower dentures perfectly balanced and stable. It really is using geometry to fight the physics of leverage. Exactly. If you built them flat, the prosthesis would fail every single time the patient tried
to bite into an apple. We have covered so much ground today, from the chemical reactions of gypsum to the complex fabrication of custom trays and RPD mechanics. As promised for our deep dive format, let's do a quick review question for the students out there listening. This is strictly to test if you were paying attention to the hard numbers. This is a good one. Think back to the custom tray fabrication process we walked through. Visualize your plaster cast and the wax spacer. Here is the question. To create the correct mechanical border seal, exactly how many millimeters short of the sulcus line should the wax spacer be cut? And part two, for a mandibular tray, where exactly do you place the tissue stops? Take a second. Remember, we distinctly separated the tray border depth from the wax spacer border depth. Got your answer. OK, the wax spacer should be cut exactly four millimeters short of the deepest part of the sulcus. And for a mandibular cast, the tissue stops are placed anteriorly in the canine region. And remember, the major exception. No wax spacer at all on the buckle shelf for the lower tray.
Correct. That tray has to touch the bone there for the selective pressure technique to work. Taking a step back from all these numbers, really delving into a manual like SLaxme's highlights, the prostitutics is this incredibly unique intersection. It's clearly not just medicine. No, it is exactly where rigorous material science meets fine manual dexterity. We take these totally inalt powders and toxic liquids. And through really precise, disciplined engineering, we transform them. Into something that gives a patient their life back. Exactly. We restore a person's fundamental ability to eat their favorite foods, to speak clearly and to smile with genuine confidence. If you respect the chemistry of the materials and you respect the biomechanics of the anatomy, those materials will serve your patient well for decades. That is the ultimate goal of our deep dive today, connecting that dusty powder and the rubber bowl directly to the living patient in the chair. But I want to leave you with one final provocative thought to chew on. Oh, I'm curious. We talk so heavily about centric relation
being this pure anatomical home base. But what happens to a patient's muscles and ligaments if they wear a poorly made, badly balanced denture for 20 years? Does their muscle memory permanently adapt to the bad bite? Does that, so-called, immutable home base, actually shift over a lifetime of compensation? That is a fascinating biomechanical question. You really have to wonder if the anatomy changes to match the bad engineering. Something for you to research on your own. Thanks for diving deeper this today. Deep learning, everyone. We'll see you on the next deep dive. Finding great candidates to hire can be like, well, trying to find a needle in a haystack. Sure, you can post your job to some job board. But then all you can do is hope the right person comes along, which is why you should try Zip Recruiter for free. At ziprecruiter.com slash zip. Zip Recruiter doesn't depend on candidates finding you. It finds them for you. It's powerful technology identifies people with the right experience and actively invites them to apply to your job.
You get qualified candidates fast. So while other companies might deliver a lot of, hey, Zip Recruiter finds you what you're looking for. The needle in the haystack. See why four out of five employers who post a job on Zip Recruiter get a quality candidate within the first day? Zip Recruiter, the smartest way to hire. And right now, you can try Zip Recruiter for free. That's right. Free at ziprecruiter.com slash zip. That ziprecruiter.com slash zip ziprecruiter.com slash zip. Did you know that parents rank teaching financial literacy as the toughest life skill? That's where green light comes in. The debit card and money app made for families. With green light, you can send money to kids quickly, set up chores, automate allowance, and track spending with real-time notifications. Kids learn how to earn, save, and spend responsibly. While parents have peace of mind knowing smart money habits are being built with guardrails in place. Try green light risk free today at greenlight.com slash try green light. That's green light.com slash try green light.
More episodes
More from Dentistry Made Simple

Endodontics: Principles and Practice
Dentistry Made Simple

Endodontic Radiology
Dentistry Made Simple

Emergency Medicine Oral Board Review: Pearls of Wisdom
Dentistry Made Simple

Facial Aesthetics: Concepts and Clinical Diagnosis
Dentistry Made Simple