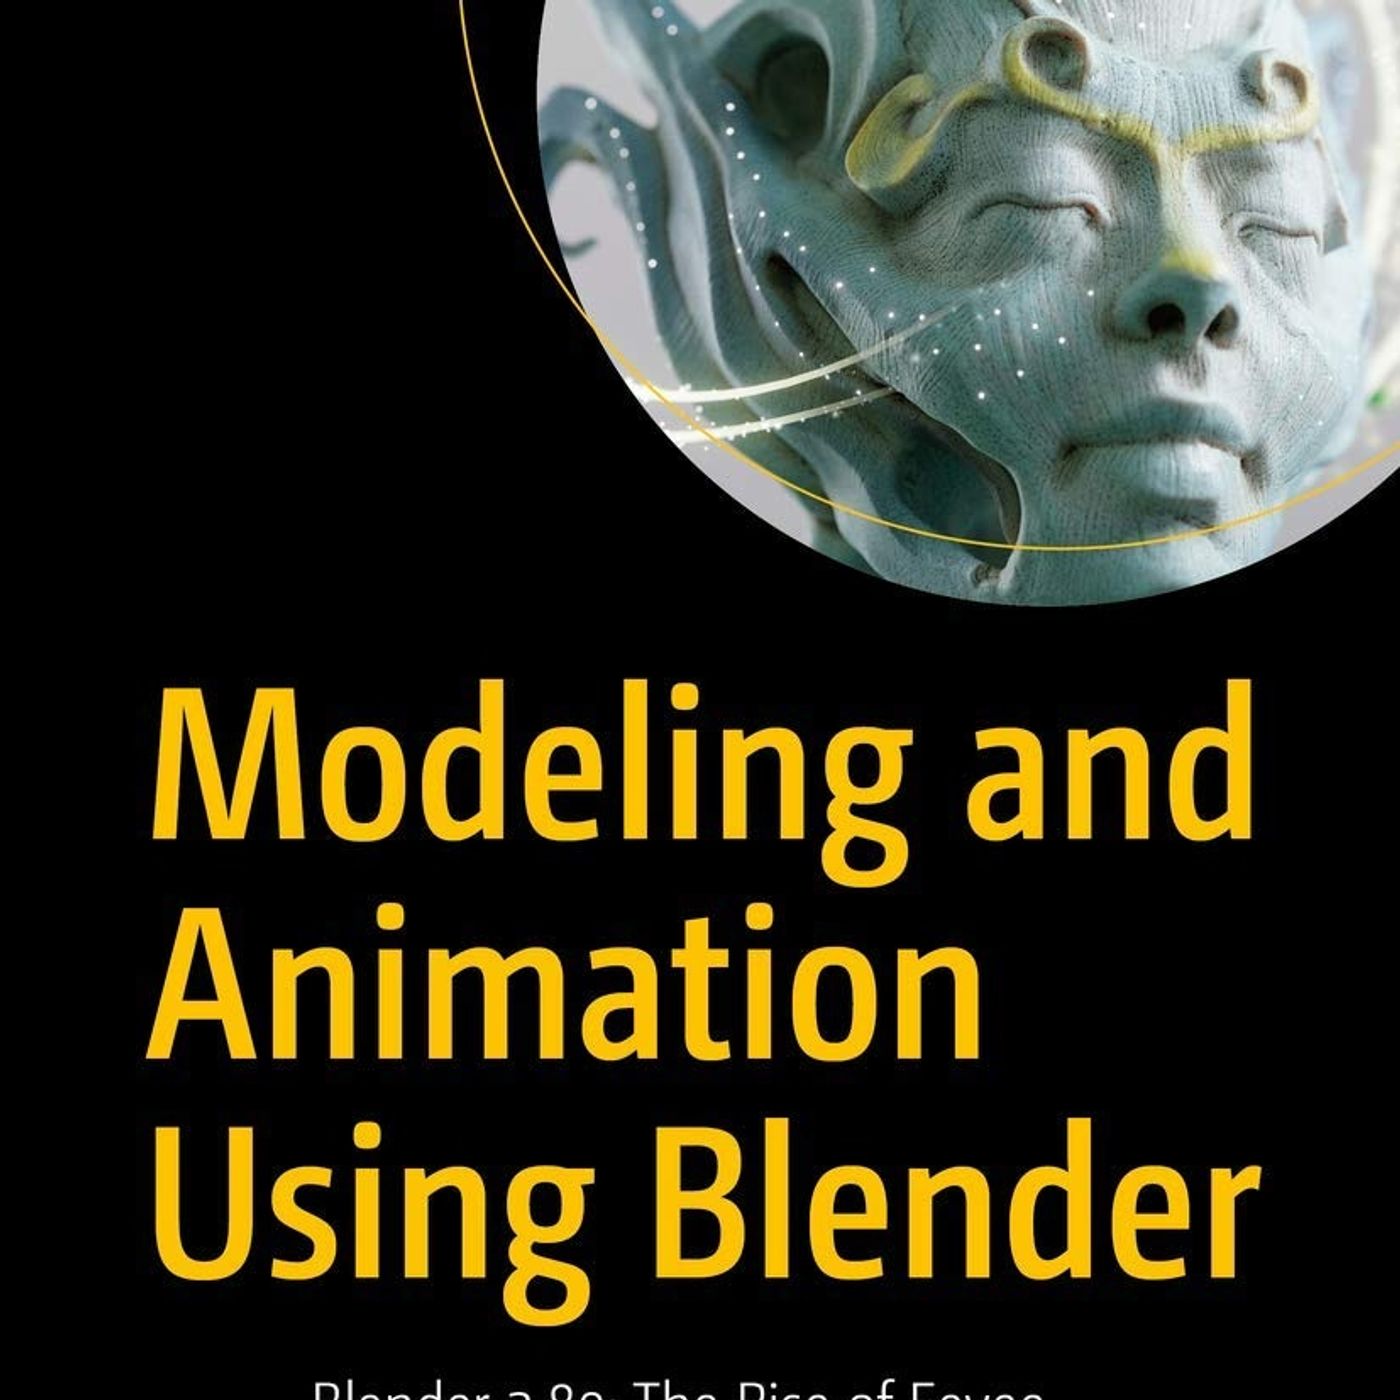
Modeling and Animation Using Blender: Blender 2.80: The Rise of Eevee
About this episode
You can listen and download our episodes for free on more than 10 different platforms:
https://linktr.ee/book_shelter
Get the Book now from Amazon:
https://www.amazon.com/Modeling-Animation-Using-Blender-Eevee/dp/1484253396?&linkCode=ll2&tag=cvthunderx-20&linkId=1a5d7f594a141b71a761060463f3e2c1&language=en_US&ref_=as_li_ss_tl
Produced by Podcai Studio:
https://www.podcaistudio.com/
Get every episode summarized
Each time Book Shelter publishes, we email you a written briefing from the transcript — the topics, who appeared, and any specific claims, with the ad reads skipped.
Email me new episodesFree for 3 shows. No card needed.
Hosts & guests
Transcript ready
975 searchable segments. Every word is indexed and playable.
Full transcript
Book Shelter — Modeling and Animation Using Blender: Blender 2.80: The Rise of Eevee. Machine-transcribed; use the interactive transcript above to jump the player to any line.
Can you grab one more thing? I'll come back up pretty soon. At Amika Insurance, we know you'll always find ways to look out for the people you love. And with Amika Life Insurance, we'll help build a plan to make sure you always can. We're here to help protect the life you've built. Really? Yeah, I've got one. Amika, empathy is our best policy. Visit Amika.com and get a quote today. This podcast is sponsored by IQBAR. I've got good news and bad news. Here's the bad news. Most protein bars are packed with sugar and unpronounceable ingredients. The good news, there's a better option. I'm Will and I created IQBAR plant protein bars to empower doers like you with clean, delicious, low sugar, brain and body fuel. IQBars are packed with 12 grams of protein, brain nutrients like magnesium and lion's mane, and zero weird stuff. And right now you can get 20% off all IQBAR products
plus reshipping. Try our delicious IQBAR sampler pack with seven plant protein bars for hydration mixes and for enhanced coffee sticks. Cleaning ingredients, amazing taste and you'll love how you feel. Refuel smarter, hydrate harder, caffeinate larger with IQBAR. Go to eaticubar.com and enter code bar20 to get 20% off all IQBAR products plus free shipping. Again, go to eaticubar.com and enter code bar20. With the American Express Platinum Card, you can access over $3,500 in annual value with benefits and eligible purchases across travel entertainment and more. There's nothing like platinum. Learn more at americanexpress.com slash explore dash platinum enrollment requirements monthly and other limits in terms of supply. All right, welcome back everyone. Today we're embarking on, well, a truly special deep dive into the dynamic world of 3D creation. Our mission really is to take you on a guided tour through a really fascinating book.
It's called modeling and animation using Blender. Blender 2.8 the rise of EV by Ezra Thess Mendoza Guevara. Think of this as like your personal shortcut to understanding Blender 2.80. We're gonna explore the most impactful insights the author lays out pretty much just for you. And what's really compelling about Ezra's work I think is how she actually frames the book itself as a personal journey, a tour, as she calls it, through Blender's capability. Okay, for tour. Yeah, so we'll basically trace her steps. Starting from why this pretty powerful software became her go-to tool. Even interestingly, as a web developer, working just on a laptop, then through its core functionalities for modeling, shading, animation, right up to its kind of intriguing place in the future game engines. It's really a comprehensive look at how Blender 2.86 well, changed the game, and we're excited to unpack that story. So whether you're maybe eyeing a new creative project or you're just curious about the evolution of 3D software,
or you simply wanna understand what Blender 2.8 you really brought to the table, you are definitely in for an insightful conversation. Yeah. Let's dive in and discover the magic Ezra has made accessible for all of us. Let's do it. So our journey begins, well, much like Ezra's own, actually, with the grand welcome chapter, it's her personal path to Blender 2.8 seal. She started out like, well, like a lot of beginners probably do with basic Windows 10 tools, things like 3D viewer. Okay, yeah, the simple stuff. Exactly. But she quickly hit their limitations, so she went searching for something a bit more robust, something that could really unleash her creative vision. And that's when she found Blender. That's when she discovered Blender, yeah. And her background, you mentioned web developer and designer, that's actually key here. Well, she saw this growing importance of 3D in web design. And needed a tool that was powerful, but also practical. Like sense. And Blender, it immediately appealed to her
for some really crucial reasons. First, it launched quickly, even on her laptop. That's a big one. Huge. It offered complete freedom and model design. It has this incredibly supportive community behind it. And maybe most profoundly, it was open source and free. Right. And what Ezra talks about free, it's important to note, she's talking about more than just zero cost, right? Exactly. Blender is open source software, and it's governed by the GNU GPL license. Okay. And that's a really powerful concept. It basically grants users the freedom to distribute the software, to modify it, and even to redistribute their own customized versions. Wow. Yeah, so this fosters this truly global collaborative community, and that's what drives the constant innovation. Plus, it provides this massive network of support through forums like Blender Stack Exchange and Blender Artists. So that vibrant community, combined with Blender's consistent, what she calls significant upgrades, that's a major draw then. Oh, absolutely. Ezra really emphasizes how the development team
regularly delivers major fixes, new features, just keeping the software right at the cutting edge. Okay. She also highlights the incredible workflow speed you can achieve through Blender's, well, extensive shortcut keys. Yes, the shortcuts can be a bit daunting at first. Definitely, but mastering them, it dramatically accelerates project creation. And for the high-quality visuals, Blender comes with cycles. Go right in. Cycles, right? The renderer. Yeah, it's an unbiased, physically-based, path-racing renderer, and it's optimized for your GPU. Gotcha. And this is where Blender 2.80 really shook things up, wasn't it? It became a game changer itself, largely thanks to the rise of EV. Precisely. Ezra's book pinpoints several reasons for all the excitement around 2.80. First off, the user interface. It underwent a complete revamp. Making tools and controls just far more intuitive, much easier to discover, with consistent layouts across the whole software. That consistency helps a lot. It does, and this leads us directly to EV.
Right, EV, the big one. Yeah, brand new, physically-based, real-time renderer. Real-time. Exactly. And I mean, think about the impact of that, right? You're suddenly not waiting minutes or hours sometime. Yeah, for those renders. For a final render, just to see how your work looks, EV powers the interactive viewport. So you see it as you work? Instantly. You can see advanced features like realistic lighting, shadows, reflections, even subsurface scattering. That's the effect that makes skin look soft, right? That's the one. All updating instantly as you work. It just radically transformed the creative workflow, allowed for so much more experimentation. And the viewport itself, that got modernized too, right? Integrated with EV. Yep, enabling interactive PBR materials, physically-based rendering. It basically ensures your materials behave much more like real-world surfaces under different lighting conditions. OK. So you get incredibly accurate visual feedback while you're working. Nice. And for artist working, maybe in different dimensions, what about 2D?
Can you grab one more thing? I'll come back up pretty soon. At Amika Insurance, we know you'll always find ways to look out for the people you love. And with Amika Life Insurance, we'll help build a plan to make sure you always can. We're here to help protect the life you've built. Really? No, no, no. Amika, empathy is our best policy. Visit Amika.com and get a quote today. With the American Express Platinum Card, I can unlock experiences like no other. Since I'm always booking my next trip, I'd love that I can earn points on travel. Plus, I get a resume benefit. So you know I'm hitting the restaurants everyone's talking about. And you can find out your welcome offer after you apply, which could be as high as 175,000 points. For experiences like no other, there's nothing like Platinum. Learn more at americanexpress.com slash explore-platinum terms apply.
Looking for excitement? Shamba Casino is here. Play any time, play anywhere. Play on the train, play at the store, play at home, play when you're bored. Play today for your chance to win and get daily bonuses when you log in. So what are you waiting for? Don't delay. Shamba Casino is free to play. Experience social gameplay like never before. Go to Shamba Casino right now to play hundreds of games, including online slots. Bingo, slingo, and more. Live the Chamba Life at ShambaCasino.com. No purchase necessary VGW group void for prohibited by law of 21 plus terms and conditions apply. Good question. 2D animation capabilities got a massive boost in 2.80 thanks to the new grease pencil. Grease pencil. Yeah, it became a full-fledged blender object. Vastly improved brushes and tools. It essentially brought 2D animation workflow directly into the 3D environment. Wow, OK, so it wasn't just EV. Not at all, even cycles. Blenders established photorealistic renderer saw significant upgrades in 2.80. Like what? Well, it gained new principle shaders for things like volume and hair, ambient occlusion,
full-cryptimate support for more efficient compositing, combined CPU and GPU rendering for faster results. Plus, its new random walk subsurface scattering is fantastic for getting really realistic skin texture. So they really push both rendering fronts real time and photorealistic? Exactly. It shows blender's ambition, really, catering to both needs. So if you're listening and you're ready to jump in, Ezra actually guides us through the installation basics, too. Right, she notes wisely, I think, that while blender can run on pretty modest hardware for simple stuff, bigger, more complex scenes will definitely benefit from more robust systems. Makes sense. And you can install it permanently within .exe file or use a portable .zip version. Yep, the zip is great for running it off a flash drive on different computers, gives you that flexibility. OK. And once it's installed, you get greeted by this redesigned face of Blender 2.80 user interface. Yeah. And Ezra emphasizes its core design principles here, things like non-overlapping so you can see everything,
non-blocking, so tools don't get in your way, and non-modal for efficient tool access. Meaning you can customize it a lot. Hugely. And that customization is key. From changing the entire color scheme with themes, adjusting the interface size, or enabling countless community add-ons, Blender really lets you make the workspace your own. You can even remap the shortcut keys, can't you? That's always a big selling point. Oh, yeah, absolutely essential for building speed. The book also highlights workspaces, doesn't it? These predefined layouts for different tasks. It does. Things like modeling, sculpting, shading, animation. They let artists quickly switch between optimized views for different stages of the process. And you can customize those, too, and save them. Yep, save them right into your project file, ensure it's consistency. OK. And these areas, the individual windows, like the 3D view or the outliner, they're flexible. Incredibly flexible. You can resize them, split them, duplicate them, just by dragging corners or borders. Create your ideal layout totally on the fly.
And there are full screen toggles, too, for focus. Exactly. Cradle plus space bar, I think it is. Very handy. All right. Let's unpack this a bit more in dive into chapter two. This one's called Laying the Modeling Foundations. Right. And Ezra wisely starts by breaking down any 3D scene into its four components. What are they? Well, let's see. The model, materials, lights, and camera. Exactly. It's a really foundational framework. It helps understand how everything fits together. OK. And then, building on that, she explains the basic 3D model anatomy. Yeah, she uses the analogy of building blocks. Vertices are the points. The dots. The dots, yeah. Edges are the lines connecting them. And faces are the flat planes formed by connected edges. And together, they make the surface. Precisely. They form the surface of your 3D objects. The book then introduces object modes and types. So Blender has these different modes, like object mode, edit mode, sculpt mode. Six key modes, yeah. Each for a different kind of interaction. And then, the object types themselves are, well, numerous.
Yeah. You've got common mesh objects for basic 3D shapes. Then curves for smooth lines, lights, cameras, armatures for animation rigging. Ah, bones. Yeah, bones. Even the grease pencil for doing 2D drawing, right there in 3D space. That's cool. It is. And the crucial distinction Ezra makes here is between a mesh and an object. OK, what's the difference? Well, a mesh is the surface geometry itself. Yeah. The vertices, edges, faces. An object is a broader container. Gotcha. So an object can be a mesh, but it could also be a camera or a light or an armature. Understanding the hierarchy is pretty fundamental for managing complex scenes. Right. OK. So Ezra then takes us on a deep dive into the 3D viewport itself, that window where you actually interact with your 3D world. Yep. And she explains how the menus change dynamically based on your active mode and what objects you've selected. So you always have the right tools handy? Supposedly. Yeah. Ensures the right tools are at your fingertips. And the toolbar in the default layout workspace
holds the core tools. Select, move, rotate, scale. That's right. And a neat feature Ezra points out is the Adjust Last Operation panel. It pops up right after you do something. Let's you fine tune the parameters of that last command. It's a real time saver. Definitely use that one. Navigation is also key. And the view menu commands are like your control center for that. Totally. You can quickly zoom to selected objects or zoom to see your whole scene. Talk a little between perspective view, how we see the world, and orthographic view, which is more like an engineering blueprint style. You can jump to specific camera views, predefined top or front views, and just fluidly orbit, roll, or pan around your scene. And the select menu. What's important there? Well, you've got universal options, like select all none invert selection. But in edit mode, you get specialized tools like checker disselect for patterns. OK. And maybe most useful for big scenes is select all by type. Let's you quickly grab, say, all the lights or all the cameras at one.
I need. What about the ad menu? Does that change too? It does. In object mode, it adds new separate objects into your scene. But switch to edit mode, and it cleverly adds new elements to the object you're currently editing. So you build onto existing geometry? Exactly. She also touches on texture space here, which is how textures map onto your object. Important concept for getting realistic surfaces. OK. And the transform controls up in the header region, those offer more precise manipulation. Yeah. You can choose the transform orientation, like local moves an object along its own axis, versus global, which uses the world axis. Or normal aligns to a surfaces direction. Right, right. And pivot point. That's the center of rotation or scaling. Determines the center for your transformation. And snapping helps you align things precisely to grid points, vertices, faces very useful for architecture or mechanical models. And you mentioned proportional editing earlier. That sounds useful for organic shapes. Oh, it's fantastic.
Ezra highlights it for deforming dense meshes smoothly. Instead of just moving one single vertex, it affects the selected elements and the nearby geometry within a radius you can control. Makes organic sculpting much more intuitive. Got it. What about seeing your work, the display and shading options? Also crucial for visualizing. Yeah. You can toggle object type visibility, hide all the lights. For instance, control the viewport gizmos, those helpful mover rotate scale arrows. Activate viewport overlays for modeling aids, like wire frames or face orientation. But the real game changer she mentions are the LookDev and rendered shading modes. OK, tell me about those. LookDev gives you an enhanced material preview. It shows your PBR materials, shadows, lighting, but in a kind of neutral, optimized environment for quick feedback. Like a draft view. A high quality draft view, yeah. Rendered mode, on the other hand, shows you exactly what your final output will look like. It uses your scenes actual lights and world settings. Ah, so that's the final check. Pretty much.
The difference between seeing the potential and seeing the final masterpiece. Ezra also details the sidebar that usually holds tool settings and view controls, right? Yeah, and he usually toggles it. Yeah. And the status bar right at the bottom of the screen. It offers handy hints, object counts, memory usage info. Small details, big help. They really are, yeah, for efficiency. Now, as scenes get bigger, keeping track of everything must be tough. That's where the outliner comes in. Absolutely essential. The outliner panel organizes all the data in your blender file. You can view stuff selected, deselected, hide it, show it, enable or disable rendering for any element. And you can group things? Yeah, using collections. Think of them like folders for your objects makes managing large projects so much easier. OK, moving into deeper customization. Now, the property is editor. That's like the main control hub. It really is. It's context sensitive, showing and letting you edit data for whatever you have selected. It changes dynamically. This is where you really fine tune, well, pretty much everything.
Including the render settings. You mentioned the three engines earlier. EV, cycles, workbench. Right. And in properties, you find common settings like sampling, which controls quality versus render speed and color management. And then engine specific settings. Exactly. For EV, you can tweak those advanced real-time effects. And be an occlusion, bloom, depth of field, screen space reflections. They add incredible realism right in the viewport. Cycles offers its own specialized settings for volumes, light paths. And importantly, the choice between using your GPU or CPU for rendering to optimize performance. Gotcha. Output settings too, file type resolution, color, compression. All the export details. And object settings give you that precise numerical control over an object's location rotation scale. Plus its relationships to other objects, its visibility. OK. And physics settings and material settings are in there too, but we'll get to those later. Yeah, Ezra delves into the more deeply in later chapters. But this is where you'd initiate simulations for cloth
or water and define how your models actually look, their surface appearance. Right. So Ezra brings a lot of this together in a sample project, the Suzanne Showcase, using the monkey head mascot. She does. She guides this through creating a simple stage, adding and rotating a plane, then adding a grease pencil drawing, some text with an emission shader, making it glow. Yeah. And a solidify modifier to give the text thickness. The whole point is to build a visually appealing composition, just showing how these basic elements can quickly come together. And this leads naturally into lighting the critical art component. Absolutely critical. Ezra really emphasizes how lighting can make her break a scene. It profoundly impacts colors, mood, everything. She shows this with the Suzanne scene. Yeah, she illustrates how just a simple area light, combined with the light emitted from the grease pencil and text, can create a balanced scene. And then, crucially, how removing those lights drastically changes the whole visual impact. It becomes dark, flat.
So light equals mood. Pretty much. She talks about the relationship between light and color. Absence of light is black, presence is white, how light angles affect perceived colors. And she introduces the classic three-point lighting technique. Key, fill, and rim light. That's the one for deliberate effective scene elimination. Standard practice, really. And she also mentions HDR eye images for quick, realistic environment lighting. Yeah, high dynamic range images. There are panoramic photos that capture detailed lighting info from real world locations. Great shortcut for realistic results. OK. But the layout workspace, while good for setup, isn't for the deep work. Right. For more advanced modeling materials, she points out you'll need to move into other specialized workspaces. Which brings us neatly to chapter three, the modeling workspace sculpting the details. Exactly. This is where the real shaping happens. When you jump into this workspace, you're typically dropped right into edit mode, focused on manipulating the raw geometry. They say if you want to go fast, go alone. But if you want to go far, go together.
At Amika Insurance, we know what matters most to you. And we work even harder to protect it together. As a mutual insurance company, we're built for our customers and prioritize your needs. Amika, empathy is our best policy. Visit amika.com and get a quote today. Tyler Reddick here from 2311 Racing. The rush of racing? Nothing beats it. But Chumba Casino comes close. Chumba's got fast spins, fun games, daily bonuses, and all the action you can handle. Now that's a ride. Ready to hit the throttle? Get in the driver's seat and head to chumbacasino.com. Let's Chumba. Sponsored by Chumba Casino. No purchase necessary. VGW Group Voidware prohibited by law, 21 plus terms and conditions apply. The firts, edges, faces of your models. And while the basic tools like select, move, rotate scale
are there. Right, they're universal. But Ezra highlights the power of the mesh object specific tools. For example, the extrude tool. That's a big one. It's your workhorse. For pulling new geometry out from faces or edges, imagine quickly building a tower from a flat plane or adding thickness to an object's walls. That's extrude. OK. She also details the inset tool. Yep, for creating new faces within selected ones. Super useful for things like panel lines on a spaceship or window frames on a building. And the bevel tool. You mentioned realism earlier. Crucial for realism. Bevel smooths out sharp edges in corners. Because, as Ezra reminds us, perfectly sharp edges rarely exist in the real world. Adding that little bevel makes things look much more convincing. Got it. What other key tools? Well, loop cut is indispensable for quickly adding new edge loops across your model, giving you more geometry to work with for finer details. And the nice tool lets you make freehand cuts across your mesh surface. These foundational tools, once you get the hang of them,
allow for incredibly rapid and precise model creation. Right. So Ezra takes us back to Suzanne for another sample project, Suzanne Redux, combining layout and modeling work spaces this time. She does. She demonstrates refining the stage and Suzanne herself, using extrude region and bevel tools to create smoother, more realistic stage edges. OK. And she showcases a really powerful technique, the mirror modifier. Essential for symmetrical objects. How does that work? She applies it to a grease pencil drawing. You sculpt or modify one side and blend or automatically mirrors those changes to the other side. Staves an immense amount of time on anything symmetrical. Like characters or vehicles? Exactly. She also adds hair particles to Suzanne mesh, tweaking parameters like length, count, and strand shape to create realistic fur or hair. And you can style it. Yep, using particle edit mode. Tools like comb, cut, puff. You can really style the particles. Wow. This detailed project then culminates in the final render.
And it impressively shows how combining simple modifiers, advanced particle systems, and focus modeling tools can transform a basic mesh into something really striking and detailed. OK, that leads us perfectly into chapter four, the shading workspace making it pop. This is all about materials and testers. All about making things look good. Yeah. This workspace layout is specifically geared for material creation. You get the 3D viewport, usually in look dev mode for instant feedback, an image editor for handling your textures, and the really powerful shader editor. Let's talk about the image editor first for 2D assets. Right. Viewing and preparing your 2D textures. Ezra explains its image panel, where you choose your source could be a single image file, an image sequence for animation, or even generated patterns like UV grids. OK. And crucially, she discusses color space, how colors are mathematically expressed for the computer, and alpha for handling transparency, both vital for realistic texturing. Got it. Now, the heart of this chapter, the shader editor.
This is where the real magic happens. Material creation, you build these amazing, often complex materials for both cycles and EV by connecting various nodes. Nodes, like building blocks. Exactly like building blocks. Each node performs a specific function, adding color, creating noise, mixing shaders together, quick connecting with virtual wire. OK. And Ezra breaks down some key nodes. She does. Starting with the absolute workhorse. The principled BSDF shader. That sounds important. It is. It's a single, incredibly versatile node based on Disney's principled model for PBR rendering. Yeah. To create almost any material, imaginal shiny metals, rough wood, translucent skin, just by adjusting its parameters. Like base color, metallic, roughness. Exactly. Sub-surface for that skin effect, tons of parameters. She also explains nodes like mix shader for layering different materials together, emission for creating glow effects, making objects act like light sources, and subsurface scattering for materials like skin, wax, or marble,
where light actually penetrates and scatters beneath the surface. Right, giving that soft look. Precisely. And we get another sample project, shapes with shaders. Yep. Ezra builds this vibrant scene using various primitive shapes, spheres, cubes, cones, plus Suzanne again. OK. She starts by applying an image texture to a background plane. And this is where she explains UV mapping. UV mapping. Think of it like gift wrapping. It's the process of translating a flat 2D image texture onto the surface of a 3D object, relatively simple for a flat plane, much more complex for say Suzanne's head. Right, you have to unwrap it somehow. Exactly. You often use the UV editing workspace for that. OK, so she applies textures and then combines shaders. Yeah, she guides us through applying complex material layers to Suzanne, combining an image texture for the subsurface color with a glass and diffuse BSDFs using a mixed shader. And she adds a Fresnel node, too. Fresnel. That node controls how much a surface reflects based on the viewing angle. Like how water looks more reflective when you view it edge on.
It adds a lot of realism. Oh, OK. So this project demonstrates how to achieve these really rich, multifaceted surface appearances by layering nodes. Then it explores intricate nodes setups for the other shapes, combining various textures and mathematical nodes to create abstract, colorful, highly stylized materials. Then it gets pretty complex. It can. But the visual results are amazing. The final render of this project done with EV shows the scene just brimming with vibrant stylized materials. Really demonstrates the creative freedom the shader editor gives you. And Ezra shares examples from BlenderArtist.org, too, for inspiration. Yeah, just to remind us of the kind of artistic potential that's out there. OK, let's keep moving and bring things to life in chapter five. Let's animate with Blender bringing it to life. Right, time for motion. This chapter brings us into the animation workspace. What's in that layout? You typically get the 3D viewport, often split between a camera view and a regular perspective, the outliner, properties editor, and then two critical tools for animation.
The dope sheet and the timeline. OK, the dope shoe. What's that for? Sounds old school. It kind of is. Inspired by classical hand-drawn animation exposure sheets, it gives you this clear bird's eye view of all your animation data, specifically your keyframes. Keyframes, the points in time where something changes. Exactly. The dope sheet shows you where all your keyframes are for all your objects. You can also see F curves here, which are visual lines representing how the animation moves or changes between those keyframes. Gotcha. And the key menu options here are powerful. Incredibly powerful. You can control the interpolation mode. That's how the values change between the keyframes. Is it a smooth change, a sudden jump? Yeah. And Ezra highlights many easing types here, even referencing Robert Penner's famous easing equations. Easing, like easing into emotion. Precisely. These are preset curves that define the feel of your animation. You can have sharp ease-in, a bouncy effect, and elastic overshoot. This is where you really sculpt the timing and feel of the motion.
Sounds crucial for character animations. Absolutely. OK, what about the timeline? The timeline is more about the overall flow control. It has your playback controls, play, pause, jump to start end. You said your animations start in end frames here. And it has markers to help organize different sections of your animation. And it has auto keyframing. Yeah, a very useful feature. Turn it on and blend or automatically inserts keyframes whenever you move or modify an object on a new frame. Really streamlines the workflow for some types of animation. OK. And for really fine-tuning the curves. That's where the graph editor comes in. It gives you granular control over those animation curves, the F curves. It displays any animatable property plotted against time. And you can directly manipulate the curve shape to adjust speed, flow, easing with incredible precision. More control than the dope sheet. Much more detailed control over the curves themselves. Yeah. Dope sheet is more about time in the keyframes, graph editors about the motion between them. Got it. And Ezra demonstrates this with a simple sample project, animating the default cube.
Yep, super basic, but illustrates the core concepts. You just move the cube at frame 1, press I to insert a location keyframe, go to frame 20, move it somewhere else, press I again. And Blender calculates the movement between. Exactly. Repeat for rotation, scale. The dope sheet shows little markers for your keyframes. She even shows how you can animate material keyframes. Making it change color over time. Yeah, or transparency or glow intensity. Click the property in the shader editor, press I. Values turn green in the interface to show they're animated. Cool. OK. So after you animate, you need to render it out, the rendering workspace. Right. Some more layout in some ways. But the image editor here is focused on viewing your rendered output. You can switch between render slots to compare different renders. And save the final image or video sequence. Yep, image menu, save ease, standard stuff. Ezra also includes a sample project, render engine outputs, right? Comparing the looks. She does. Just a visual comparison of the same scene rendered with workbench, the fast preview,
EV, real-time PBR, and cycles, photorealistic path tracing. Really highlights the distinct looks and performance trade-offs of each engine. And she touches on camera basics, aperture, shutter speed, ISO. Briefly. Yeah. Just relating those real-world photography concepts to how your virtual camera captures light and detail in the scene, exposure, depth of field, motion blur. OK. And the chapter also dives into some more advanced animation related topics. Object constraints, particles, and physics. Let's start with constraints, right? Object constraints are super useful. They let you control an object's properties. It's location, rotation, scale, either with static values, or more commonly, by linking them to another target object. So you can automate complex relationships? Exactly. Main use is an animation, controlling things indirectly. Like, a track to constraint can make a camera always automatically pointed a specific moving character. Without you having to keyframe the camera's rotation manually. Saves a lot of work. Huge timesaver for rigging and complex setups.
OK, what about particles? Particle systems are for creating dynamic effects. Things involving lots of small elements. Well, blocks. Well, blender has two main types. Emitter systems, which produce particles over time, think rain, snow, sparks, smoke, and hair systems, which create strand-like objects used for well-paired, but also for grass carpets, that sort of thing. And you can control how they behave. Oh, yeah. Ezra details how you control everything. The number of particles where they emit from their speed, lifespan, mass, how they interact with forces like wind or gravity, and, of course, how they render. You can generate incredibly lifelike organic effects and atmospheric elements. Wow. And finally, the big one, the physics system. Yeah, blender has a pretty comprehensive physics simulation engine built in for simulating real world phenomena. What kind of phenomena? Lots. There's cloth physics for simulating realistic fabric movement clothes, flags, curtains, dynamic paint for effects like footsteps leading temporary trails,
or objects creating ripples on a water surface, soft body physics for deformable objects, like jelly or bouncy balls, and rigid body physics for simulating solid objects, things that collide, fall, stack, and interact realistically based on mass and friction, like dominoes falling or building demolition. So you can create really complex, realistic interactions automatically. That's the idea. These systems bring an unparalleled level of realism and dynamism to your animations. If you set them upright, they can be complex, but incredibly powerful. OK, that covers a lot. We wrap up our deep dive with the final chapter, chapter six, the future of game engines beyond the tour. Right. A look at blender's relationship with real-time engines. Ezra recounts the history of the old blender game engine, or BGE. That was built right into blender. It was, yeah, since about 2000. It allowed users to create real-time interactive projects, games, architectural visualizations, simulations directly within blender using graphical logic breaks or Python scripting.
So how was it different from regular blender rendering? Key difference was it rendered continuously in real time, and the user could interact during the rendering. Unlike blender's traditional offline rendering, where you set it up, hit render, and wait for a final image or video. OK, but official development stopped on that. Yeah, eventually. A ton, Rizindal, blender's founder noted it was put at rest. But the community didn't let it die completely. Ah, so there's UPBGE. It's exactly. The Eukronia Project blender game engine, a community driven fork that kept the spirit of BGE alive, updating it with things like real-time physics, integrated audio, PBR materials. But there's something new or integrated now, right? Armory 3D? Yeah, that's really exciting. Armory 3D is an open-source game engine that integrates directly into blender 2.8 and later versions. How does that work? It uses blender as its editor. It leverages cycles, nodes for rendering materials, supports scripting with nodes or code, and allows deployment to various platforms, desktop, web, mobile, even consoles eventually.
So blender itself becomes the game editor? Pretty much. So even with the original BGE retired, the future of game engine integration within blender looks incredibly bright, especially with recent significant donations from industry giants like Epic Games and Unreal. Supporting blender's development. Yeah, it really points to blender's growing importance across the entire creative pipeline, including real-time and games. Wow. Okay. What an incredible journey through Ezra Thessmond, Dosa Guevara's modeling and animation using blender. Blender 2.80, the rise of EV. It really covers a lot of ground. Yeah. From her personal reasons for choosing blender through mastering that revamped interface and all those intricate modeling tools, crafting stunning shaders, bringing objects to life with animation and physics, and even that glimpse into the evolving world of game engines, we've really seen how blender 2.80 empowered a whole generation of creators. Absolutely. And Ezra's own story, you know, as an artist and researcher pursuing her dreams, despite
facing personal challenges, it really illustrates the power of accessible, open-source software like blender. It genuinely democratizes advanced 3D creation, makes it possible for pretty much anyone anywhere, even just on a laptop, to realize their vision. That's really powerful. It is. And this comprehensive tour blender, 2.80, really makes you think, doesn't it? Yeah. For you listening out there, given all these capabilities, what creative walls will you choose to break down in your own projects? Yeah, that's a powerful thought to carry into your own blender adventures. Thanks, everyone, for joining us on this deep dive. Yeah. Thanks for tuning in. That's a great time. Keep learning, keep creating, and keep exploring the incredible world of knowledge. They say, if you want to go fast, go alone. But if you want to go far, go together. At Amika Insurance, we know what matters most to you. And we work even harder to protect it, together. As a mutual insurance company, we're built for our customers and prioritize your needs.
Amika. Empathy is our best policy. Visit amica.com and get a quote today.
More episodes


