Loading...
About this Episode
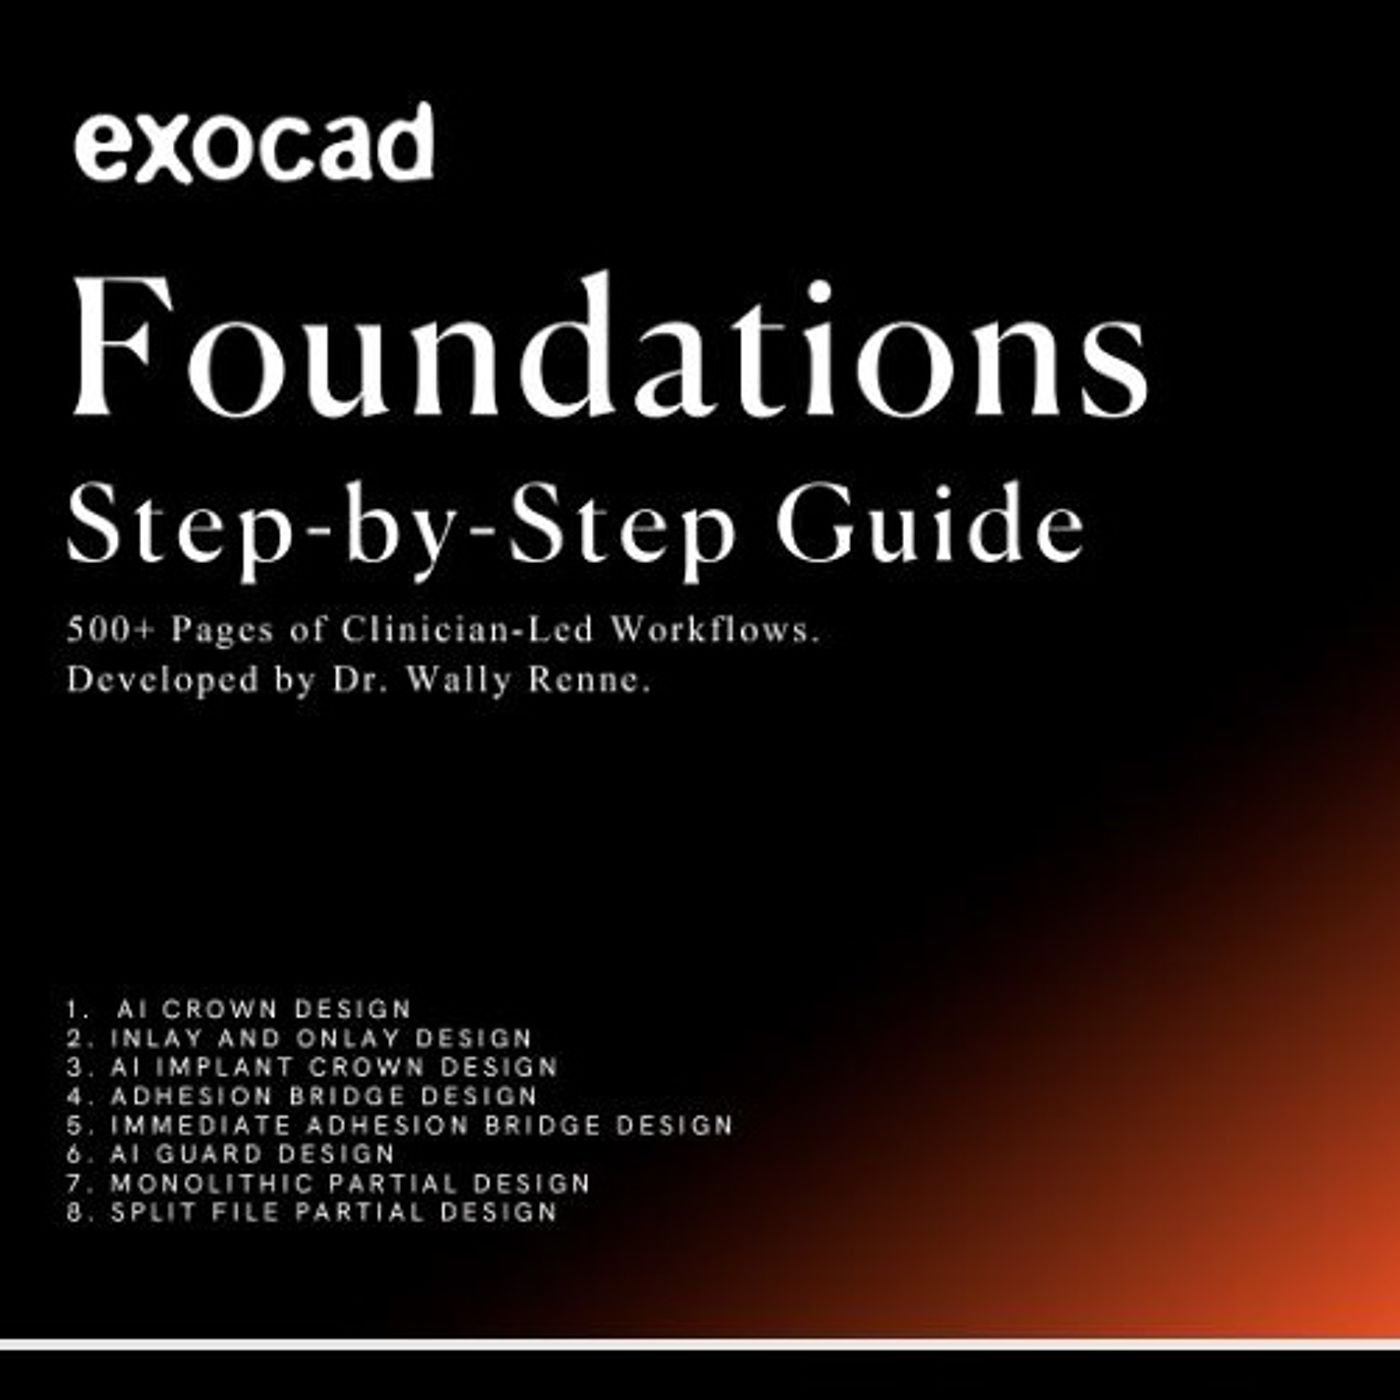
A comprehensive curriculum focused on digital dentistry and exocad design software. These educational resources emphasize foundational design principles as the essential groundwork for mastering complex prosthetic workflows, such as all-on-x restorations, veneers, and digital dentures. The materials detail various learning pathways, including online courses for different skill levels and hands-on residencies that explore 3D printing applications. By integrating AI-driven automation and step-by-step clinical guides, the author, Dr. Wally Renne, aims to enhance the predictability and efficiency of modern dental practices. Ultimately, these sources serve as a roadmap for practitioners to adopt advanced digital tools for everyday restorative treatments.
You can listen and download our episodes for free on more than 10 different platforms:
https://linktr.ee/dentistry_made_simple
Produced by:
https://www.podcaistudio.com/
You can listen and download our episodes for free on more than 10 different platforms:
https://linktr.ee/dentistry_made_simple
Produced by:
https://www.podcaistudio.com/
Hosts & Guests
Transcript
The Toyota Tundra and Tacoma are built to keep going, blending rugged muscle with precision
engineering, all supported by Toyota's time-tested legacy of dependability.
Step into a Tundra and feel the unyielding capability with the available iForce Max engine
Tundra puts out impressive power, torque, and towing performance and the roomy high-tech
cabin keeps you connected on the go.
Or take a look at Tacoma, made for drivers who push past the path, agile, tough and relentless
with available features like crawl control, portable JBL speaker, a power lift gate,
so gear goes in fast and the adventure keeps moving.
The Tacoma and Tundra are engineered to endure season after season, mile after mile.
So drive one home today, visit toyota.com or stop by your local Toyota dealer to find
out more Toyota.
Let's go places.
Welcome back to The Deep Dive.
Whether you're prepping for a morning meeting at the clinic, catching up on workflows
between patient consults, or you're just, you know, insanely curious about the tech
revolution happening in modern healthcare, we are really glad you're here.
Absolutely.
You are what we like to call the learner.
And today we have something incredibly special tailored just for you.
We're going straight into the digital matrix of modern dentistry.
Specifically, we're going to master the foundational design principles of digital dentistry.
Yeah.
The topic that is fundamentally reshaping the landscape of restorative care for our
audience of dental students, young professionals and self learners out there navigating this
transition from analog impressions to digital design is, well, it's often the biggest hurdle
of their early careers.
Right.
We're looking at a complete paradigm shift, really, in how a prosthesis is conceptualized
before it ever physically exists.
Our source material today is this exhaustive, highly practical clinical guide.
It's called DSD foundations.
This playbook was published in March, 2024 by WRMDSVILC, which most in the field know
is the M.O.D. Institute, and is authored by Dr. Wally Rand.
A fantastic resource.
It really is.
And our mission today is to provide a complete, highly detailed summary of this digital
dentistry playbook.
We're going to translate these rigorous scientific concepts and software based principles into
an engaging, easy to digest format that will directly elevate your everyday clinical
workflow.
Because we really need to bridge that gap between reading a dense software manual and
the practical tactile reality of sitting at a computer workstation, you know, designing
a restoration for a patient who is physically waiting in the chair.
Yeah, pressure is real.
It is very real.
And having a deep conceptual understanding of the software is what separates a stressful
appointment from a totally seamless one.
Okay, let's unpack this.
We have to start with the core philosophy of this text, which hits you right in the introduction.
The guide opens with a section titled Precision and Possibility.
Dr. Renekko points out something that happens in almost every tech heavy field.
In the fast evolving landscape of digital dentistry, foundational design principles are frequently
underestimated.
Oh, complete.
Everyone wants to jump right to the flashy, complex, full-mouth rehabilitation cases.
But these core concepts are the bedrock.
Why do young clinicians feel this urge to skip ahead and what is the danger there?
Well, the danger lies in building a house on a shaky foundation.
The author is very explicit that these foundational design principles are not merely preliminary
steps to just get out of the way.
They're strategic pillars.
Strategic pillars?
Right.
When you're a young professional and you're exposed to these Instagram cases of massive
smile makeovers all day, it's tempting to view the basics like designing a simple poster
of your crown as just a hurdle.
But those pillars form the framework for consistent, predictable, and high quality prosthetic outcomes.
If you don't understand the digital parameters of a single crown margin, scaling that up to
14 teeth is just scaling up your errors.
By solidifying your understanding at the base level, you equip yourself and your team with
the problem-solving skills needed to tackle increasingly complex designs later on.
In a massive part of that foundation, rests on the software platform that is central to
this entire clinical guide, which is Execad.
Yes.
The text highlights how Execad is at the forefront of this digital revolution because it utilizes
intuitive, wizard-guided workflows and AI-driven automation.
Now, I'll admit, reading software manuals can be incredibly dry.
Yeah, nobody reads them for fun.
Exactly.
But Dr. Ren, frames these UI clicks not as text steps, but as clinical decisions.
How does clicking a button Execad actually translate to a better crown in the patient's
mouth?
Take this to the bigger picture, mastering these software basics minimizes the technological
learning curve.
Think about what happens when you're learning to drive a car.
You're staring at your feet.
Right.
At first, you're staring at the pedals and the steering wheel, completely overwhelmed by
the mechanics of the machine itself.
But eventually, the car becomes an extension of your body, and you just focus on the road.
Execad is the exact same way.
That makes total sense.
When the software becomes second nature, when you aren't fighting the interface to figure
out how to rotate a 3D model, it empowers you and your team.
To focus your energy entirely on the clinical aspects.
The technology just fades into the background, and the patient's anatomy, their occlusion,
and their care come to the forefront.
So how does the guide actually get us to that level of unconscious competence?
It maps out a comprehensive eight-step road map.
The text lays this out as a progressive journey for everyday prosthetic restorations.
I want to walk through the clinical evolution mirrored in these eight modules, because it's
a massive 436-plus page manual.
It's exhausting.
It really is.
To ensure no detail is left behind, let's look at the specific chapters.
It starts with AI crown design on page one, and then inlay and onlay design starts on
page 68.
What does the mindset shift required when a clinician moves from an analog crown to a digital
one in these early modules?
In the analog world, you're relying heavily on the physical laboratory technician to interpret
your physical impression.
You hand it off.
But in the digital space, with single crowns and inlay, the coronation or their immediate
team is taking total ownership of the margin and the emergence profile.
You're in control.
Exactly.
Module one and two teach the user how to trust the AI to generate a functional proposal,
but more importantly, how to critically evaluate that proposal against the adjacent
teeth.
It's about learning to read the digital topography of a tooth.
Then the guide steps up the complexity.
On page 113, we move into AI implant crown design.
Meaning that is adhesion bridge design on page 160 and immediate adhesion bridge design
on page 214.
Implants and bridges bring entirely new forces into play.
They absolutely change the game.
With an implant crown, you're no longer just dealing with it prepared natural tooth.
You are dealing with a titanium fixture and how the digital design shapes the surrounding
soft tissue, the emergence profile, which is critical, highly critical.
And then when the guide moves into adhesion bridges, it introduces the concept of managing
pontex, which are the fake teeth suspended between the abutments.
The software requires you to design not just the teeth, but the connectors that hold them
together.
They have to be thick enough to withstand bite forces, but contoured enough to be cleaned
by the patient.
After bridges, the guide introduces AI guard design on page 272, which I know is a huge
revenue and patient care center for most practices.
Night guards protect all the restorative work that dentists just placed.
And finally, the text rounds out the journey with removals.
Anolithic partial design on page 351, and split-file partial design on page 436.
Transitioning from fixed grounds to removal partial dentures in a CAD software seems like
a massive leap.
It is a significant leap, which is exactly why it's placed at the very end of the roadmap.
Designing a removable partial requires an understanding of the path of insertion across
multiple teeth at once, managing undercuts, and designing clasps that will physically
flex over a tooth in the real world.
And a split-file partial.
A split-file partial is even more complex because you're designing the metal framework
and the pink acrylic base as separate digital files.
And those files must ultimately fit together perfectly.
The beauty of this eight-step structure is that by the time you reach Module 8, the software
muscles you built way back in Module 1 make managing those complex partials entirely
doable.
Here's where it gets really interesting.
Because the guide doesn't just tell you what these procedures are.
It dives into the tactile, user interface actions needed to execute them.
Let's talk about the file loading sequence.
The author insists that when you start a case, you must load your files in a highly specific
order dictated by the software.
You have to pay strict attention to the top left text box.
For instance, it might start by asking for a soft tissue scan.
In most modern software outside of dentistry, you just drag and drop everything into a folder
at once.
Why is Execad so rigid about this data intake sequence?
Think of the software's data intake like prepping a surgical tray for a complex procedure.
I like that analogy.
If you hand the surgeon the wrong instrument out of sequence, the whole procedure stalls.
Execad relies on a strict hierarchy of spatial data.
It needs to establish the foundation before it can build the house.
The top left text box acts as your digital assistant.
It prompts you for exactly what it needs at that exact moment.
So if it asks for a soft tissue scan.
Right.
If you feed it in opposing jaw scan when it's asking for the working model, the software
will align the spatial coordinates completely backward.
The entire foundation of the design is compromised from click one.
Got it.
Once you have your files properly loaded in sequence, you have to physically navigate
this 3D space.
The text provides the specific navigational controls.
You hold down the control key on your keyboard to rotate the 3D model and you click your mouse
to move it.
Everything that specific muscle memory is the key to speed.
Yes.
But let me get the orientation step, which the guide treats as a critical make or break
moment.
The user must right click to rotate the model so they're looking straight down the
occlusal plane before hitting next.
Why is that specific top down view so vital?
That orientation step establishes the baseline geometry for everything the AI is about to
do.
When you align the model to look straight down the occlusal plane, meaning you're looking
directly down at the chewing surfaces of the teeth, you are telling the software the
primary axis of the patient's mouth.
Okay.
So you're setting the horizon line.
Exactly.
If you orient the model at a tilted angle, the software will assume the patient's head
is tilted.
It will generate a crown proposal that is crooked.
The path of insertion will be skewed and the bite calculations will be entirely wrong.
That one right click to center the occlusal plane dictates the success of the automated design.
Speaking of automation, as you progress through the wizard, there are specific action buttons
that drive the workflow.
You click save, you click design, and when you want to lean into the AI, you click a button
specifically labeled request cloud calculation.
That button sends the data to the cloud where the AI generates the crown design based on
millions of learned anatomical data points.
The efficiency gained by that single click is truly staggering.
Instead of a human spending 20 minutes digitally dropping a generic tooth shape into the space
and pulling the margins by hand, the cloud calculation analyzes the neighboring teeth,
it analyzes the opposing bite, and it generates a highly specific custom morphology in seconds.
The clinician then just steps in to refine it.
The text also mentions some heavier clinical scenarios that require specific wizard inputs.
For instance, in pre-surgical wax-ups, the guide brings up terms like all on X scenarios
and apontic wax-up dentate arch.
For a young professional listening, the guide instructs the user to click yes under setting
called virtual extraction.
What does that actually look like in the software?
Are we just hitting delete on a tooth on the screen?
Essentially yes, but the clinical implications are profound.
In an all on X scenario, a patient is typically coming in with failing terminal dentition.
The plan is to remove those teeth and place implants, but you need to design their future
smile before the surgery happens.
They need teeth the same day.
Exactly.
So by clicking yes to virtual extraction, the software allows you to digitally erase the
patient's failing teeth from the 3D model and artificially heal the digital gums underneath.
This gives you a clean slate.
You're designing the ideal final teeth based on their facial aesthetics, completely unhindered
by the broken teeth that are currently in their mouth.
You are engineering the final outcome before the surgeon ever picks up a scalpel.
Wow.
And the guide also provides incredibly specific material based rules that go beyond just software
navigation.
There's a direct quote from Dr. Ren regarding adhesion bridges.
He states, for porcelain, metal, and zirconia, I do one wing.
To clarify for you listening, an adhesion bridge or a Maryland bridge uses a wing that
bonds to the back of an adjacent healthy tooth to hold a fake tooth in place.
Why would the clinical rule be one wing?
Common sense might suggest that using two wings attaching to the healthy teeth on both sides
of the gap would provide twice the grip.
What's fascinating here is how material science dictates digital design.
It is completely counterintuitive at first glance.
You would think two wings are stronger, but human teeth have independent micro movements.
When you bite down, your teeth shift slightly in their sockets.
They act like shock absorbers.
Exactly.
If you design a rigid zirconia bridge with two wings bonded to two different teeth, those
teeth will move in different directions under bite force.
This creates massive shear stress, and because zirconia is so rigid, it won't flex.
The result is that one of the wings will eventually debon and pop off.
But designing only one wing, you allow the pontic to move in harmony with the single
abutment tooth it is attached to, completely eliminating that conflicting stress.
That is exactly the kind of collision-led nugget that saves a young professional from a failed
restoration and an angry patient.
The software doesn't know the physics of human periodontal ligaments.
It relies on the clinician to know that.
The software will happily let you design a two wings zirconia bridge if you ask it to.
This perfectly reinforces Dr. Ren Sinoff in the introduction where he writes, mastered
the basics and the rest will follow.
The AI can calculate the cloud data, but the human clinician must apply the biological
parameters.
If you don't know the one wing rule, the perfect software design still results in a clinical
failure.
How does a learner actually go about mastering these basics without relying on a scattered, trial
and error approach through random online videos?
The guide pivots to outline the extensive professional development resources offered by the M.O.D.
Institute down in Charleston, South Carolina.
They're located at 320 Broad Street, suite 210.
They've laid out specific structured educational pathways.
Why is a structured pathway so critical when learning digital workflows?
The staring at a complex CAD interface with a hundred different icons can cause intense
digital info overload.
An unstructured learning approach usually involves guessing at parameters, which just leads
to unpredictable clinical results.
A structured clinician-led workflow gives you a safe environment to fail, learn and iterate.
You're following a validated roadmap designed by practitioners who have already navigated
the pitfalls.
And the guide details several specific tracks available for you to fast track your skills.
For online learning, they have Execad Level 1, Foundations.
This covers everyday cases from single visit crowns to implant crowns.
It includes 16 lessons, 8 CE credits, and 12 resources.
And users can actually save $100 using the CUD Foundations Design, which expires on December
1, 2025.
That's a great entry point.
Then for those ready to advance, there's the Execad Master Track.
This is an essential series expanding into bike yards and removals.
It has 39 lessons, 24 CE credits, and 33 resources.
Users can save $500 on this one using the CUD Level L3, which also expires December 1, 2025.
Online learning is fantastic for building that muscle memory, learning a key strokes
and the file sequences, but dentistry is ultimately a tactile physical profession.
Eventually, you have to turn those digital files into physical objects.
That is where their hands-on and residency offerings come into play.
The guide details a hands-on course called 3D Printing Foundations, happening June 5th
and 6th, 2025.
It unlocks major printing applications like printed smile design, veneers, and surgical
guides.
You can use the code ExoprintingFoundations to save $500.
Getting hands-on with the printers is vital.
Absolutely.
And for the ultimate immersion, they offer a master residency.
This is a focused five-day residency happening either September 22 to the 26, 2025, or December
8 to the 12th, 2025.
It covers the full 3D printing track.
The ClinExo Foundation Res saves you $1,000.
The reason we are highlighting these structured pathways directly to you, the listener, is
to point out how they eliminate the overwhelm of digital info overload.
It's about removing the guesswork.
When you know your workflow is validated by experts, you can execute a digital design
with the same confidence you have when picking up a handpiece.
Bringing it all together, the core message of this comprehensive playbook is crystal clear.
Mastering digital dentistry isn't about jumping to the most complex case.
It's about deeply understanding the foundational pillars, from knowing why the piloting sequence
is so rigid, to getting that occlusal plane orientation perfect in hexacad.
It's the accumulation of hundreds of these small, precise foundational decisions in the
digital space that ultimately result in a flawless physical restoration seeding perfectly
in the patient's mouth.
So what does this all mean?
How do we lock this knowledge in?
Let's turn it over to our expert to wrap up the clinical relevance with a quick exercise.
All right.
I want you to take a moment and visualize yourself sitting at the hexacad software.
Quick review from the specific UI instructions we discussed.
What keystroke combination do you use to rotate the 3D model and what specific anatomical
view must you achieve when right-clicking during the orientation step?
Take a second and answer that for yourself.
You have some thought.
If you said you hold the control key to rotate and click your mouse to move it, you are
spot on.
And for the orientation, you must align the model so that you are looking straight down
the occlusal plane.
Cementing those two physical actions is step one to mastering the software interface.
It's those exact micro skills that build the foundation.
Now before we let you go, we want to leave you with a final thought to ponder that builds
on everything we've talked about today.
This raises an important question.
If AI cloud calculations can currently automate a highly accurate single-crown design based
on existing anatomy, how far are we from AI predicting decades of future occlusal wear?
Imagine allowing dentists to design restorations not just for the patient's mouth today, but
for their mouth 20 years in the future.
Designing for a future state of human biology, that is a truly fascinating concept to explore
on your own.
Thank you so much for joining us on this deep dive into the foundations of digital dentistry.
Keep exploring the intersection of precision and possibility in your own practice, and
we'll see you next time.


